So, you don’t have a camel toe concealer and you don’t have time to get one. You are standing in your room wondering if you can DIY something, anything, to cover up the awkward shape down there before you head out the door. Don’t worry, I’ve got you.
With a little creativity and a few things you already have at home, you can put together a fix that will get looking smooth. These are not long term solutions and they will definitely not replace the real thing, but they are surprisingly effective when you need something fast and you need it now.
Here, I will let you in on five DIY camel toe covers you can make right there at home. And if you stick around to the end, I will also introduce you to a durable and reusable option that has been proven to be 100% effective against camel toe.
Skip to Reusable Camelnot Concealer pad
DIY Camel Toe Concealer Ideas
None of these requires any special skills or a trip to the shops. Most of them use things you already have at home, and all of them can be put together in just a few minutes. Some do the job better than others, depending on what you are wearing and how long you will be out, so try a couple and see what works best for you.
1. The folded fabric insert
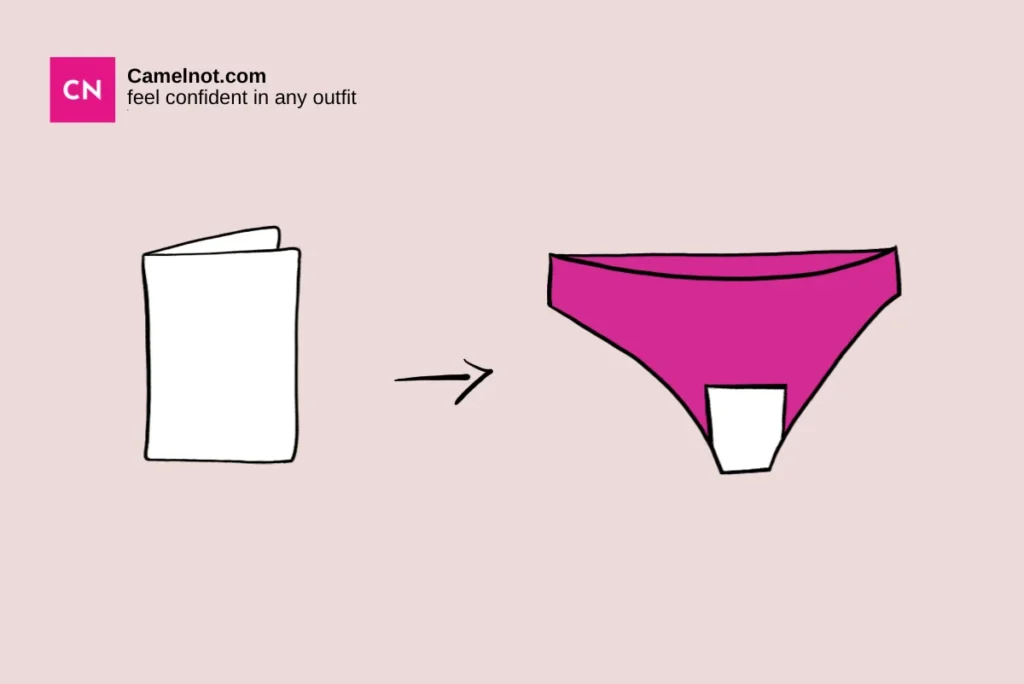
This is one of the easiest DIY options you can put together at home. All you need is a small piece of soft, smooth fabric. An old cotton t-shirt or a piece of jersey material works really well because it is soft against the skin and lies flat without adding any uncomfortable bulk.
Cut the fabric into a small rectangular shape, roughly the size of your palm. Then fold it over two or three times until you have a flat panel. Place it at the front of your underwear before putting your bottoms on and adjust it until it sits comfortably and covers the area.
The key here is to use fabric that is thin and soft. Anything too thick or stiff will create a lump, which is not what we are going for. A smooth cotton fabric folds nicely, stays in place reasonably well, and creates just enough of a barrier to keep camel toe from showing through.
The downside is that the piece of fabric might get damp or irritate the delicate skin in that area. Therefore, this might not be suitable for gym outfits or swimwear.
2. The cut foam insert
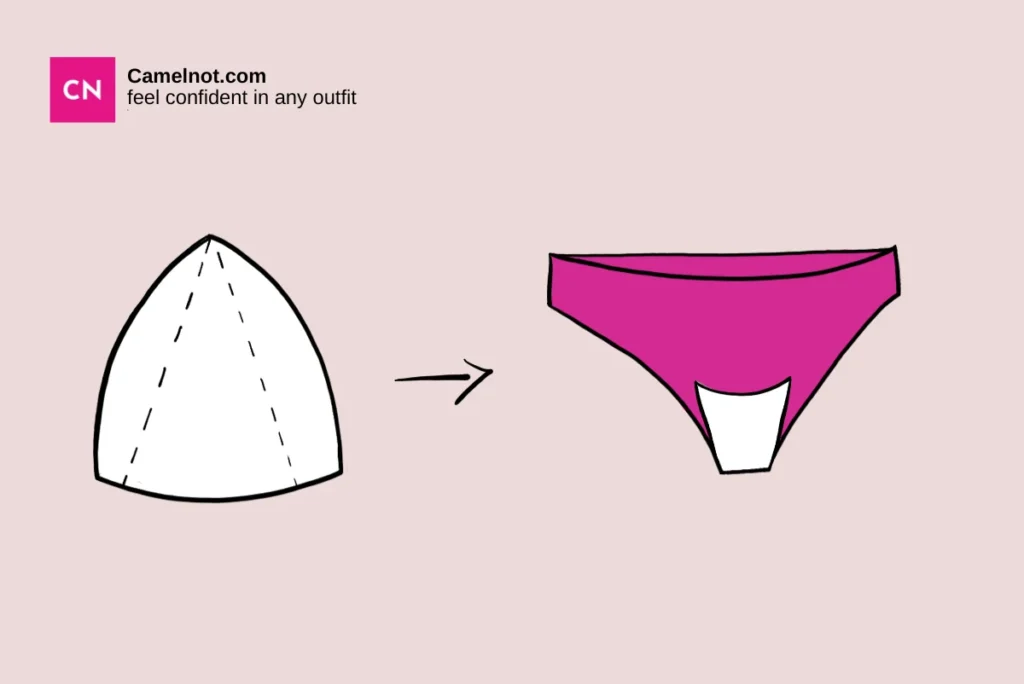
If you have an old bra with foam padding that has seen better days, do not throw it out just yet. Those foam cups are actually perfect for this hack. The foam is smooth and flexible enough to sit flat against the body without creating any shapes or bumps under your clothes.
Cut one of the foam pads down to a smaller, flatter shape. You want something roughly oval or rectangular that covers just the front area without extending too far in any direction. Use a pair of sharp scissors to trim the edges as smoothly as possible so there are no jagged lines that could show through.
Place the trimmed foam piece at the front of your underwear and you are good to go. Because foam is naturally a little grippy, it tends to stay in place better than fabric or tissue, which makes it a great option for longer days when you need something reliable. Foam craft sheets from a hobby store work just as well if you do not have an old bra to cut up.
3. The layered tissue method
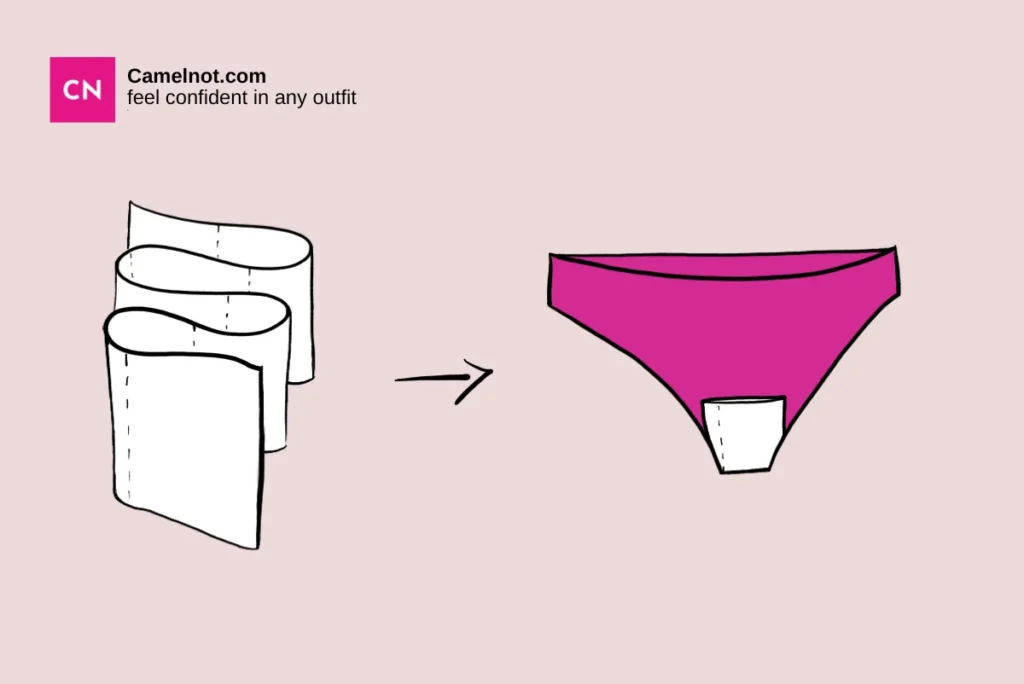
This is the most accessible DIY fix on the list because tissue paper or toilet paper is something almost everyone has at home. It is not the most long lasting option, but it works really well as a quick fix when you are in a rush.
Take about four to five sheets of tissue and stack them neatly on top of each other. Fold the stack in half and then in half again until you have a small, flat rectangular pad. The goal is to keep it as smooth and even as possible, so it does not bunch up.
Place it at the front of your underwear before getting dressed and gently press it flat. The disadvantage of this trick is the breakdown of the tissue due to heat and pressure. You may notice pilling or crumbs on your clothes after a while. That’s why it is best suited for shorter outings rather than a full day of activity.
4. The cut panty liner hack
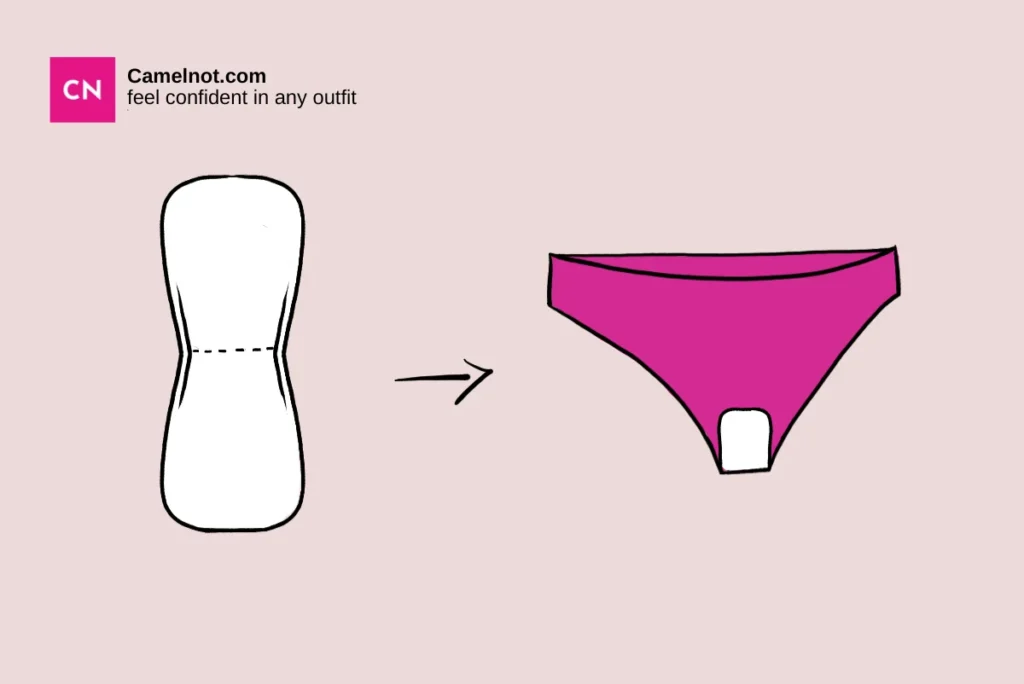
You already know that a regular panty liner tends to fold, shift and bunch. But with a small adjustment, you can actually make it work. The problem with most panty liners is that they are too long and too wide for this specific purpose, which is why they end up moving around so much.
Take a regular panty liner and trim it down to about half its original size using a pair of scissors. You want a smaller, flatter piece that covers just the front area without extending too far. Trimming it down reduces the surface area that can fold or scrunch, which means it stays in place much better.
Stick it to the front panel of your underwear as you normally would and press it down firmly before getting dressed. The smaller size makes a noticeable difference in how well it holds up.
5. The cardboard cutout
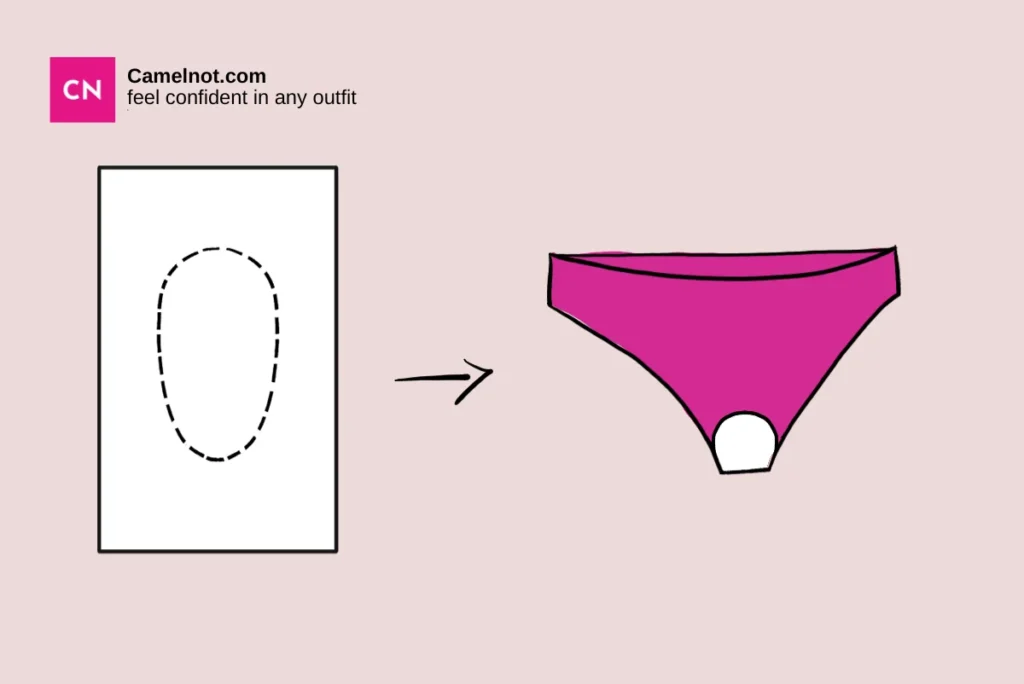
All you need is a thin piece of cardboard, the kind that comes from a cereal box or a packaging insert, and a pair of scissors. Cut the cardboard into a small, smooth oval or rectangular shape that is flat and thin enough to sit comfortably without digging in. Round off the edges so there are no sharp corners. What you are going for is a lightweight, firm little panel.
The best part about this hack is that many underwear styles have a small built-in pocket in the gusset area and this cutout slides right in. Because cardboard has a little firmness to it, it creates a layer that can cover up that outline.
The Better Option: Camelnot Concealer Pad
-

Reusable Cameltoe Concealer Pad
Original price was: $19.99.$15.00Current price is: $15.00.
DIY fixes are great for emergencies, but if you want something that actually works every single time without the fuss, the Camelnot concealer pad is the real deal. It was designed specifically for this problem, which means it is secure and completely reliable, unlike the DIY hacks.
The Camelnot concealer pad sits flat at the front of your underwear and stays there all day. It does not shift or lose its shape, no matter how much you move. It is made from soft silicone that feels comfortable against the skin and thin enough that it creates absolutely no visible bulge under clothes.
You put it in place over the crotch, get dressed and that is it. You do not have to think about it again for the rest of the day. Many reviewers have described these pads as the perfect fit and it’s easy to see why. The concealer pad is:
- Soft on delicate areas
- Easy to use and clean
- Reuseable and ecofriendly
- Perfect for every outfit
Unlike a folded piece of fabric or a panty liner, the Camelnot pad was created using anti camel toe technology to cover the front area smoothly and keep it that way from morning to night. It works with leggings, jeans, trousers, shorts, skirts, and pretty much any bottom you can think of. Whether you are heading to work, running errands, going to the gym, or stepping out for the evening, it has you covered.
If camel toe is something you deal with regularly, this is the upgrade your wardrobe needs. The DIY options are a great backup plan, but the Camelnot concealer pad is the solution you will want to reach for every single day.
Final Thoughts
Now you have options, both for the moments when you need a quick fix at home and for the days when you want to walk out the door feeling fully confident. DIY solutions are clever and resourceful, and it is always good to know they are there when you need them.
But for a reliable, everyday fix that requires no preparation and no adjusting, the Camelnot concealer pad is the one worth having in your drawer. Once you try it, the DIY won’t measure up or feel as comfy anymore.