
Working out is already a lot. Between keeping up with reps, staying hydrated, catching your breath and pushing through those last few minutes on the treadmill, your mind is completely full. The very last thing you need on top of all of that is a camel toe situation pulling your attention away from your workout.
We really don’t talk about how distracting this simple malfunction can be and how it can shake your confidence at the worst possible time. Nobody wants to be mid-squat and suddenly more focused on fixing their leggings than finishing their set.
The good news is that a camel toe-free workout is absolutely within reach. With a few smart swaps and simple habits, you can get through every squat, lunge, and sprint without a second thought. In this article, you’ll find eight life-changing tips that will help you stay comfortable and fully focused every time you hit the gym.
Tips to Prevent Camel Toe at the Gym
Whether you work out at the gym, at home, or outdoors, these tips will help you put the camel toe problem behind you for good.
1. Use Camelnot workout underwear (Most effective)
-

High Rise Cameltoe Proof Thong
$40.00 -

Low Rise Cameltoe Proof Thong
$40.00
Let’s start with the most effective solution on this list. Camelnot workout underwear is designed specifically to prevent camel toe, and it does exactly what it promises. The underwear is built with a smooth, flat panel that covers the front area and creates a clean, seamless look no matter what leggings or shorts you are wearing on top.
As anti-camel toe underwears, these panties feature:
- A reinforced gusset that fully covers the front
- A secure waistband that doesn’t fold, roll, or leave lines
- Flat seams that stay invisible under clothes
- And breathable fabric that works for delicate skin
What makes Camelnot different from regular underwear is that it was made with movement in mind. It stays in place during workouts, does not bunch up, and does not add any bulk. You just put it on and go. If you have been dealing with camel toe for a while and nothing else seems to be working, this is honestly the easiest fix.
2. Get the right size
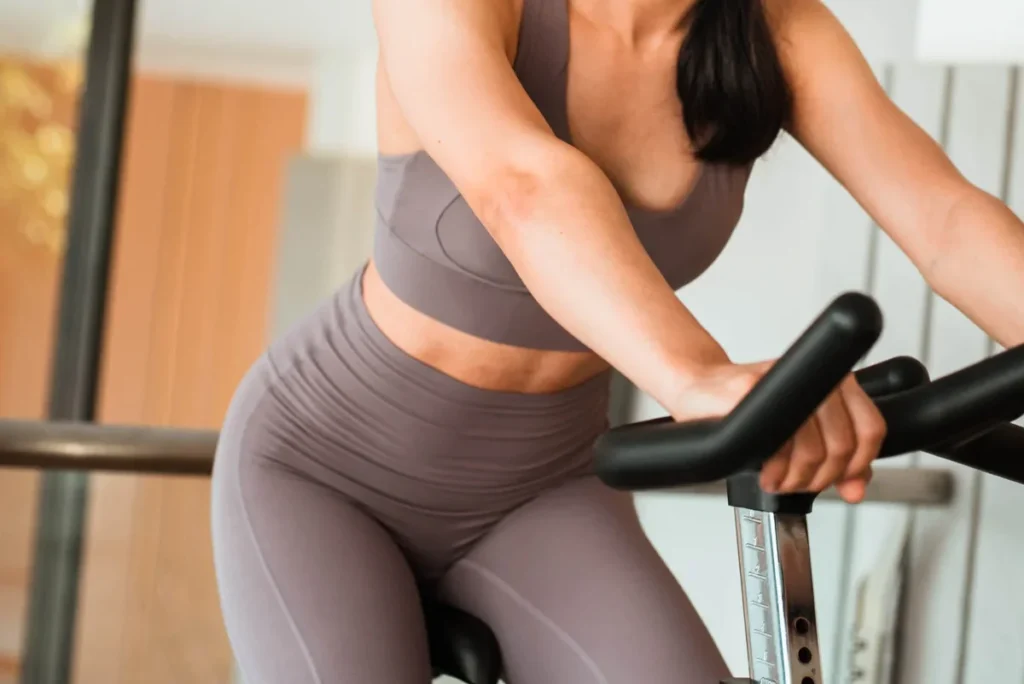
This one sounds simple, but so many people get it wrong. Wearing leggings or shorts that are too small is one of the biggest reasons camel toe happens in the first place. When the fabric is stretched too tightly across the front, it gets pulled into the body and creates that visible outline.
The fix is to make sure your activewear fits properly. It should feel snug and supportive without digging in or pulling anywhere. If you notice the fabric bunching or tugging when you move, that is a sign you need to size up. Do not let the number on the tag stop you from getting the right fit. The goal is comfort and confidence, not squeezing into a smaller size.
3. Pay attention to the fabric
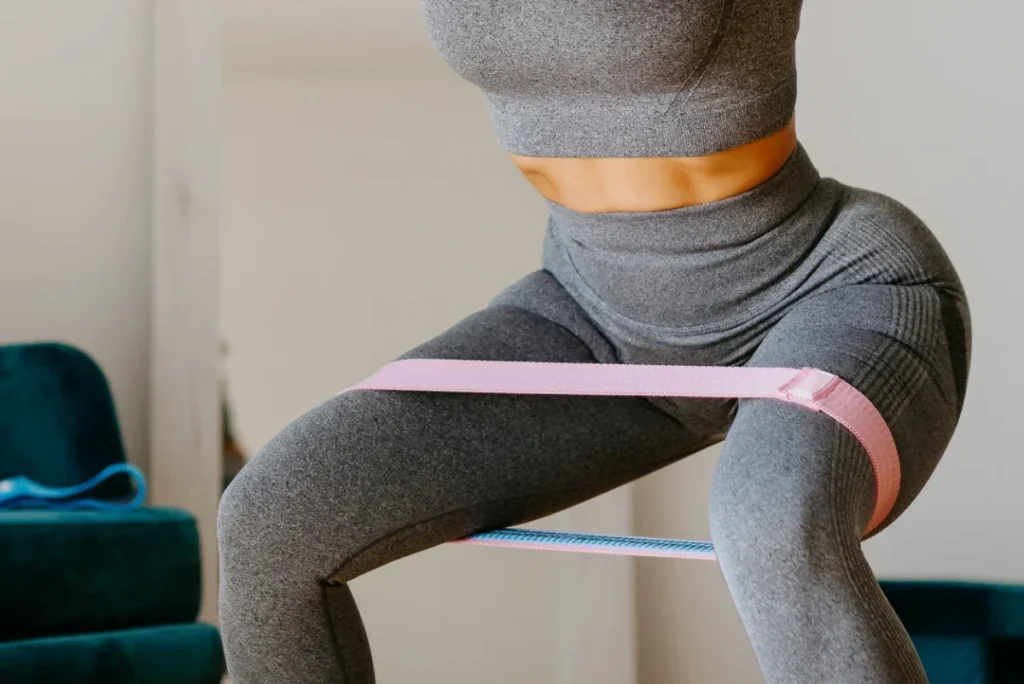
Not all fabrics are made equal, and this matters a lot when it comes to camel toe. Thin, stretchy, and clingy materials are more likely to cling to the body and show everything. If the fabric is very light and you can almost see through it, it is probably going to cause problems during a workout.
Look for activewear made from thicker, more structured fabrics. These hold their shape better as you move and are much less likely to bunch or cling in uncomfortable places. A good rule of thumb is to do a quick stretch test before buying. Hold the fabric up to the light and give it a gentle pull. If it goes see-through, leave it on the rack.
4. Look for a gusset
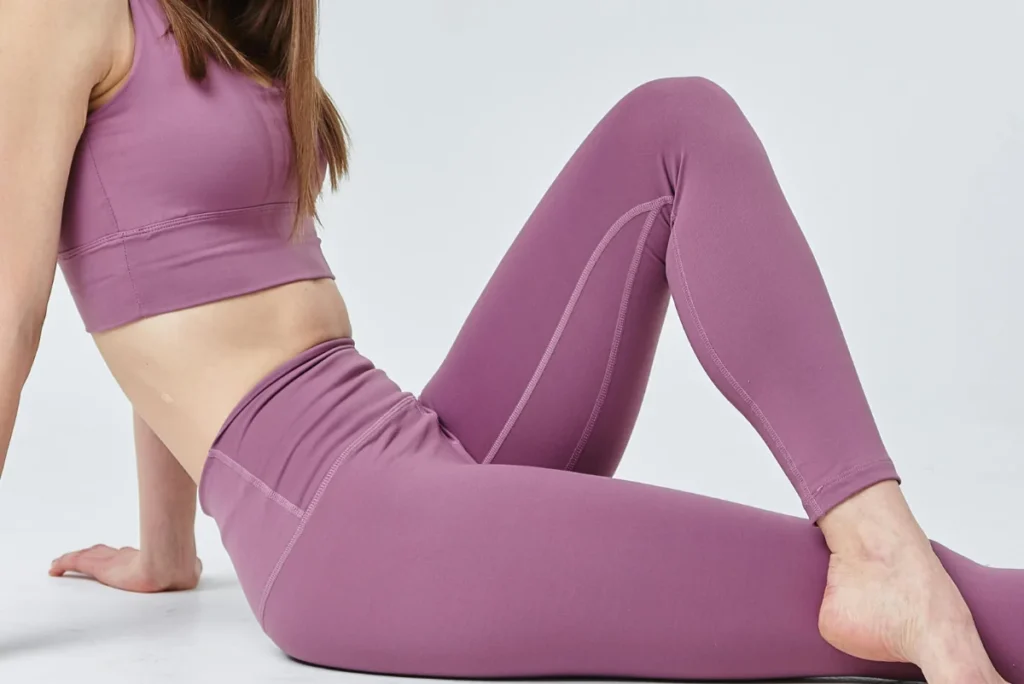
If you have never heard of a gusset before, here is your introduction. A gusset is an extra piece of fabric sewn into the crotch area of leggings or shorts. It is usually a diamond or triangular shaped panel, and its whole job is to give that area more room and a better fit. Leggings without a gusset tend to pull and bunch more because the fabric has nowhere to go when you move.
Leggings with a gusset sit more smoothly and comfortably because the extra panel takes the pressure off. Next time you are shopping for activewear, flip the leggings inside out and check for that extra panel. It is a small detail that makes a big difference.
5. Choose darker colours or busy patterns
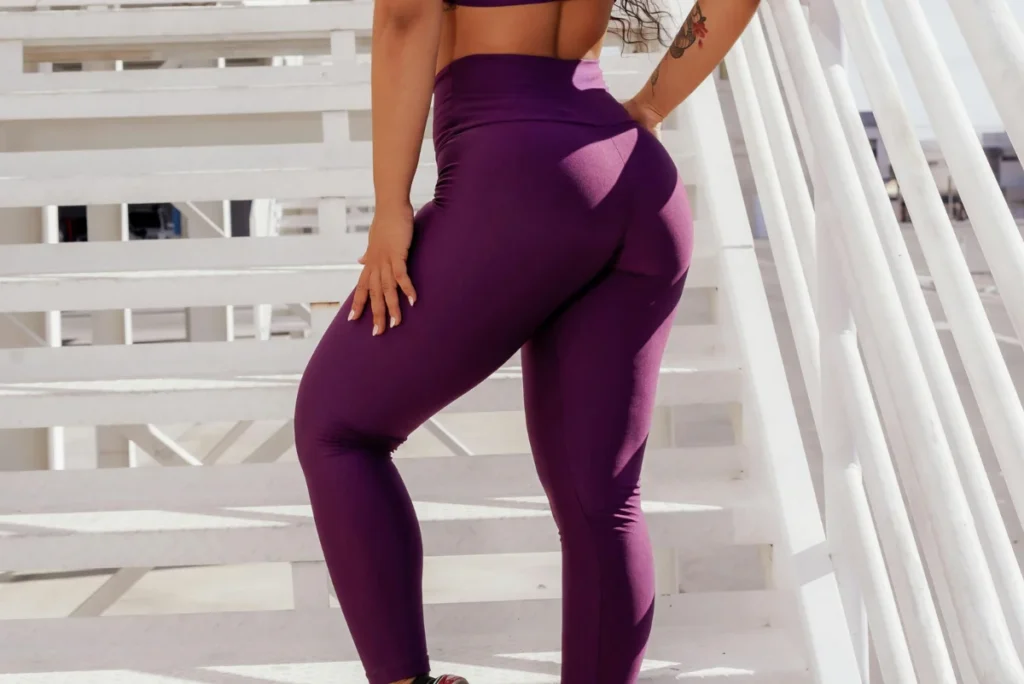
Sometimes the simplest trick is the most useful one. Dark colours like black, navy, and deep grey are much more forgiving than light ones. They do not show outlines, shadows, or any unwanted details. If you are someone who deals with camel toe often, sticking to darker shades for your workouts is an easy way to reduce the stress of it.
Busy patterns work well too. Prints with lots of colours, shapes, or movement draw the eye away from any one spot and make it much harder to notice anything you would rather keep to yourself. So the next time you are choosing between a plain white pair of leggings and a bold patterned pair, you know which way to go.
6. Check the rise
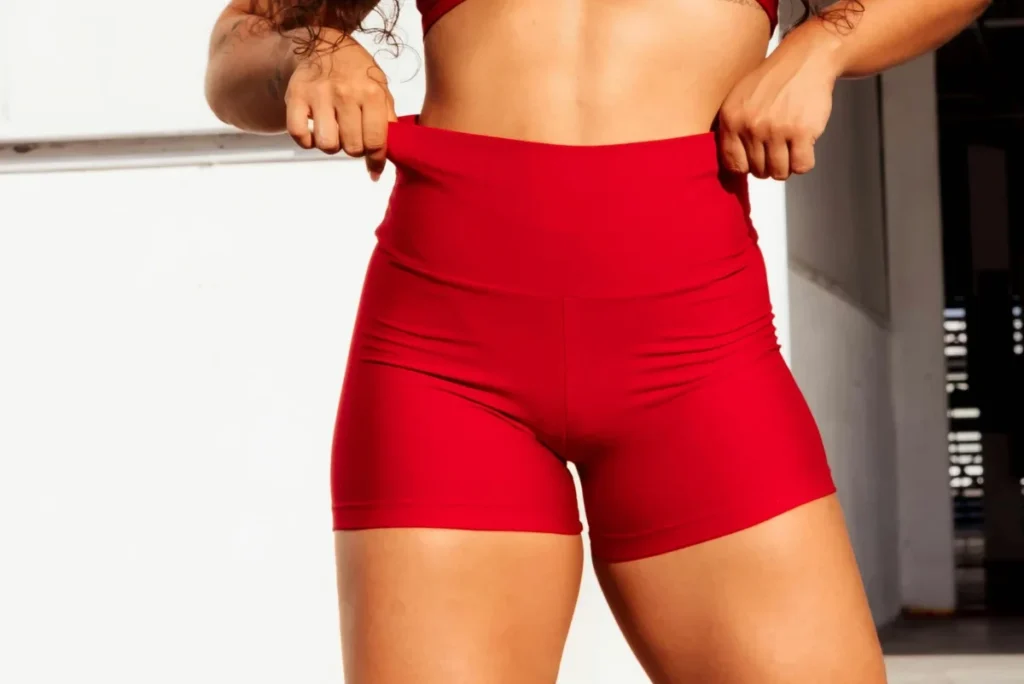
The rise of your leggings or shorts refers to how high the waistband sits on your body. Low-rise styles sit below the belly button and can sometimes shift around during a workout, which creates more room for things to go wrong. High-rise styles, on the other hand, sit above the belly button and cover a lot more of the front area.
High-waist leggings are great for workouts because they stay in place no matter how much you move. They also give more coverage and support across the front, which means less chance of camel toe. If you have mostly been wearing mid-rise or low-rise styles, switching to high-waist might just change your whole workout experience.
7. Try a panty liner

Although it’s not the best option, a panty liner can work in an emergency when your anti-camel toe underwear is not available. A thin panty liner placed at the front of your underwear adds a small layer between the fabric and your body. That little barrier is enough to smooth things out and prevent the fabric from clinging too closely.
You do not need anything thick or padded. A thin, everyday panty liner is all it takes. If you are heading to a workout and you are not fully sure about your leggings, throw a liner in, it should keep things in check for a while. However, keep in mind that a pantyliner is not a lasting fix.
8. Test your leggings before leaving
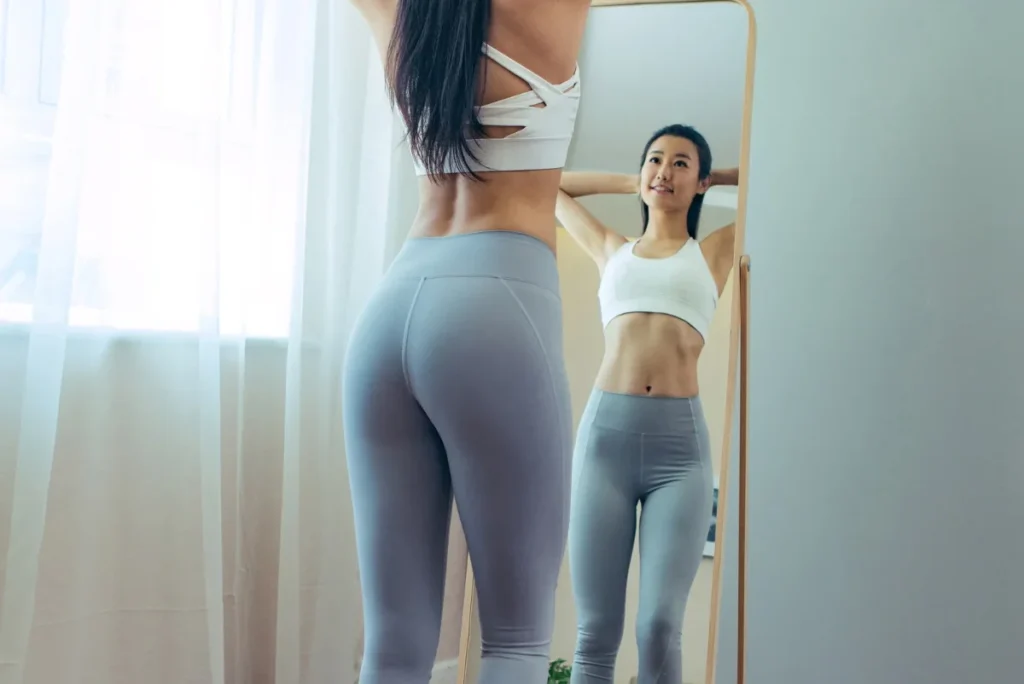
This last tip is one every woman should add to her routine. Before you leave the house in a new pair of leggings or shorts, take two minutes to do what is known as the bend-and-squat test. Put the leggings on, stand in front of a mirror, and do a deep squat. Then bend forward. Then walk around a bit.
What you are looking for is how the fabric behaves when you move. Does it pull? Does it bunch? Does it show more than you would like? If the answer is yes to any of those, that pair is not the one for the gym.
It might work for a casual day out, but save yourself the trouble and choose something else for your workout. Knowing how your clothes perform before you get to the gym saves you from a lot of unnecessary discomfort.
Final Thoughts
Your workout time is valuable. It takes motivation to show up, push through, and give it your all, and nothing should get in the way of that. Camel toe is a common problem, but it is also a very fixable one. With the right underwear and the right fit, you can walk into every workout feeling great. Once you find your go-to activewear setup, getting dressed for the gym will be the easiest part of your whole day.